YARNSHAPE GUIDE
How to design your own amigurumi pattern
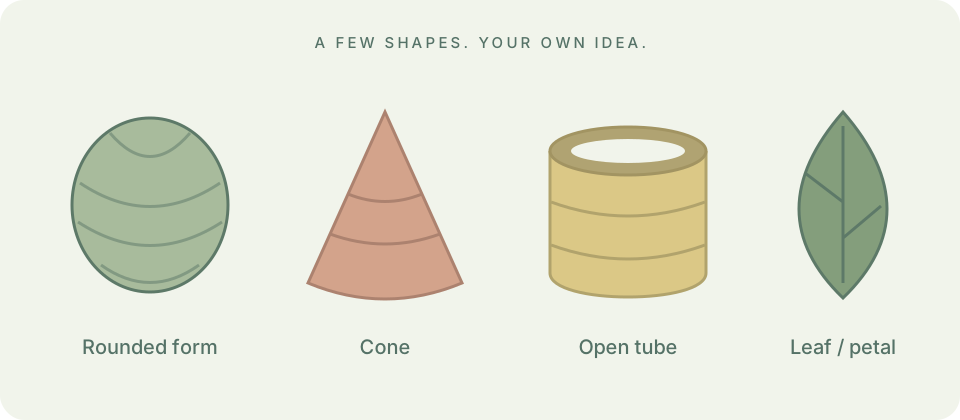
An animal, a pretend vegetable, and a little character can begin with the same toolkit: rounded pieces, cones, tubes, and flat fabric. Start by deciding how the object will be made.
1. Break your idea into separate pieces
Sketch its outline and label the parts. A pear might be a rounded body and a short stem; a flower might use one centre and repeated petals. Decide which parts are stuffed, which are hollow, and which stay flat. Yarnshape creates each piece separately and records where to sew it to another piece.
For a first design, use two or three pieces with a clear attachment point. A smooth silhouette is easier to inspect than a detailed face or complex joint. The small rounded-form example shows a complete generated sequence.
2. Choose a construction before changing its silhouette
In the studio, choose Add a piece, then a rounded form, long rounded form, cone, cup, tube, circle, panel, leaf/petal, stuffed pad, or open soft piece. A cup has a closed base and open rim. A tube has two openings. A flat panel is worked in rows. These differences affect the instructions, not just the picture.
3. Reshape one part at a time
Change its widest stitch count and its straight rounds or rows. Select a part in the pieces list before editing it. Profile controls can add narrower shoulders, taper the walls, or narrow a panel’s finishing end. Turn the view to check depth as well as width.
Curving flat fabric changes its assembly pose in the preview; it does not add new stitches or create a shaped crochet surface. Yarnshape does not turn arbitrary sculpted meshes into crochet instructions.
4. Plan how the pieces meet
Use Sew pieces to choose a source anchor and a target part and anchor. Add a useful note such as “centre the stem on top; sew around its lower edge.” Snap aligns the schematic points. It does not prove that the edges have the same number of stitches. See the assembly guide for a practical planning checklist.
5. Read, swatch, and revise
Open Pattern & make to review the written rounds or rows, stitch maps, and sewing plan. Set Your yarn & gauge using a sample made with your intended yarn, hook, and stitch. Gauge changes the estimated size; it does not automatically change every stitch count.
Save a JSON backup before a large revision. Make one piece first, compare it with your intended shape, and adjust the design. Stuffing and individual tension can change the result in ways a preview cannot predict.